Fender M80 Diagnosis and Repair
Note: this web page is currently being created - as I tackle this project.
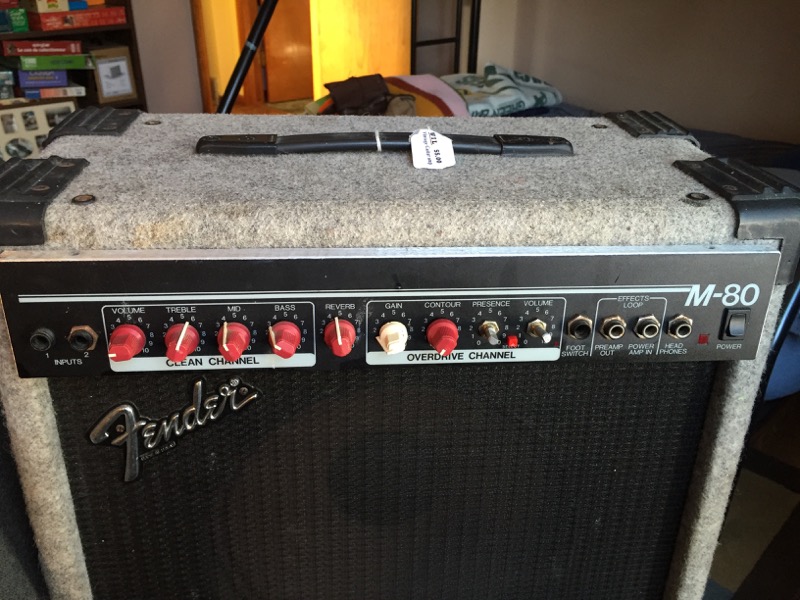
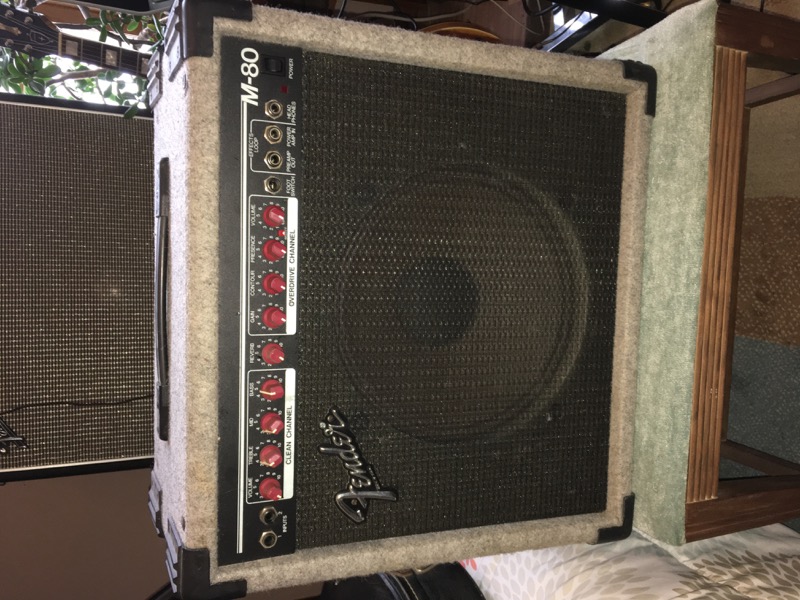
Fender M80
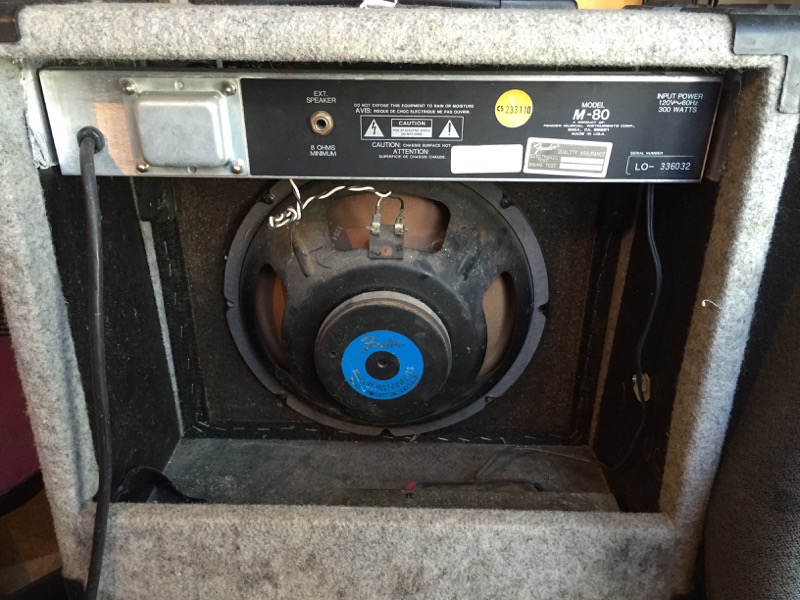
Rear view
I found this amp at a flee market in 2015. I needed something to play on while working on my Dual Showman.
According to John Morrished book "The Fender Amp Book"..."It was an unashamedly solid state amp prominsing, in addition to an attempt at a tradintional Fender sound, the most radical distortion of any amplifier on the Market".
The Price list from June of 1990 shows the M-80 at 90 Watts, 12" Fender special design speaker, gain switching, reverb, footswitch, and effects loop and sold for $399. It's Fender Item number was 22-5900.
Diagnosis and testing
- Serial Number: LO-336032
- Missing pedal
- Two missing nobs and one white oddball. Shafts of missing knobs are bent but still work fine.
- Reverb not working
- Both Clean and OD channels seem to be good.
- Speaker good.
- These input jacks are junky and cheap for a Fender product (but they do work).
References:
- Pots, knobs purchased from: Antique Electronic Supply
- Fender M80) Information from Music - Electronics Forum
- Some user reviews for M80 from Ultimate Guitar Forum
Repairs:
- Missing Petal: I simply dug out an old foot switch for my Dual Showman and found an adapter plug that converted the RCA from the plug to the large pin plug on the M80. This is just a toggle switch SPST that is wired between the pin and shell of the RCA plug.
- Missing Knobs: Tubes and more.com has these in a bag of 6 for $12.00. Why not have some spares.
- Bent Pots and broken Reverb control pot.
-
Replacing Pots
This is going to be a little more involved. Some disassembly will be needed: First unplug Amp from electrical power.
Caution: The following procedure involves working in and around electronics equipment. There may be high voltages which can cause injury or death if you don't know what you are doing. Make sure all equipment is disconnected from power before you start. Once inside make sure you do not touch capacitors as these can hold dangerous voltages for a long time after the amp is unplugged.
Also the procedure to replace the pots requires delicate soldering. You must be highly skilled in this art or else you can easily distroy the amp.Remove speaker panel
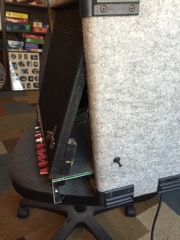
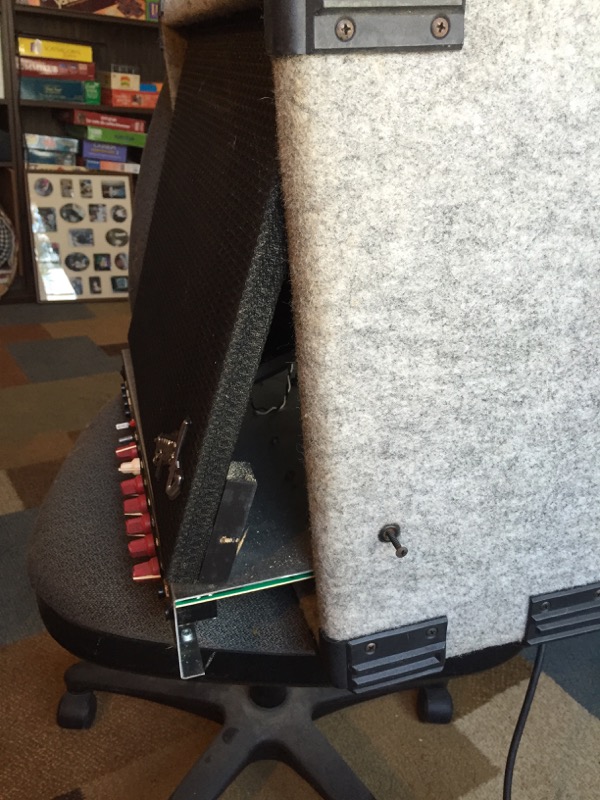
Removing speakerThis picture shows the side of the amp with the speaker panel partially swung out. I have the amp sitting upside down for this.
this speaker (front pannel) is held in place by two screws in either side of the amp. This holds the top from swinging. The bottom is held in a grouve in the bottom of the amp and holds the panel firmly in place.
Disconnect the speaker wires and push the pannel out of the front of the amp. There will be resistance from the carpet. Remove the panel to the side being careful of the speaker.
-
Remove Chassis
<Click on picture to enlarge.>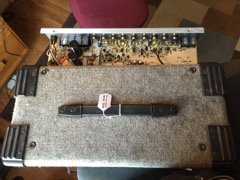
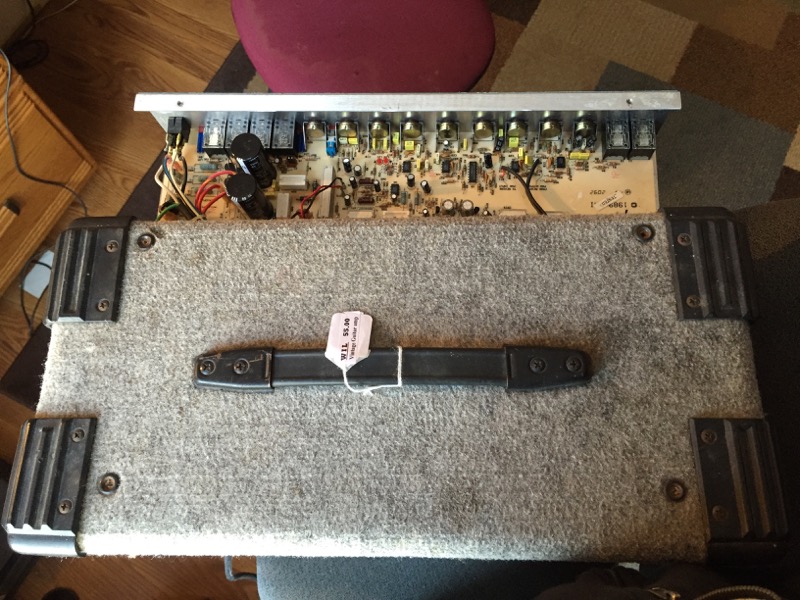
Inspect ChassisLay the amp on it's side and remove the four screws that go through the top of the amp. (If you don't lay it on it's side the amp chassis will fall to the floor of the cabinet.
Disconnect the two wires into the reverb tank and gently lift out the chassis -- careful not to damage the foil shielding on the cabinet.
-
Inspect components
<Click on picture to enlarge.>
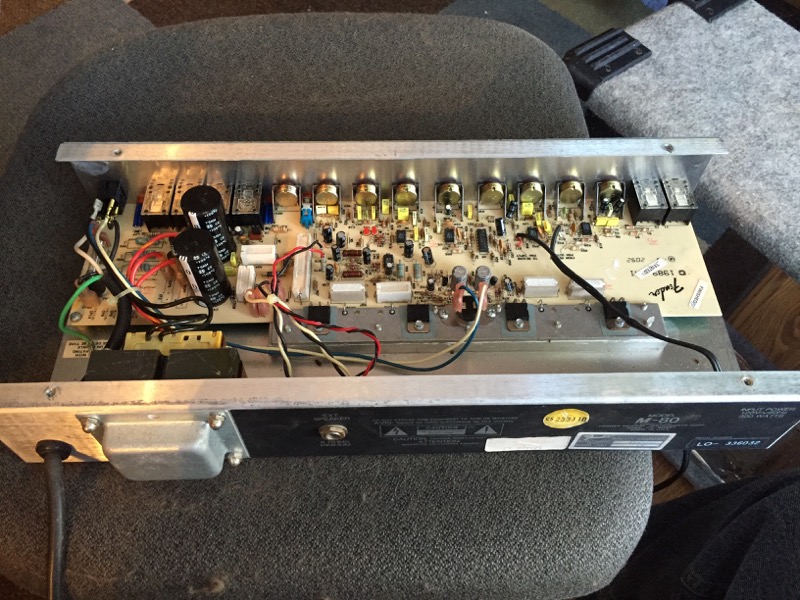
Amplifier ChassisThe Pots we will be working with are along the top. The next step is to remove the circuit board from the chassis.
-
Remove Main Board
<Click on picture to enlarge.>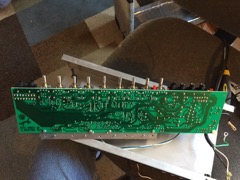
Main BoardThis gives access to the solder joints on the bottom of the board.
Many sites recommend replacing all these jacks because there are many contacts inside which get dirty and flakey. Plus the plastic shells will crack in time -- even with normal use -- so why not replace them. I decided against this since these still seem to be working and the new jacks are still plastic and OEM Fender jacks are required and they are pricey and of no better quality.
-
Replace Damaged Pots
<Click on picture to enlarge.>
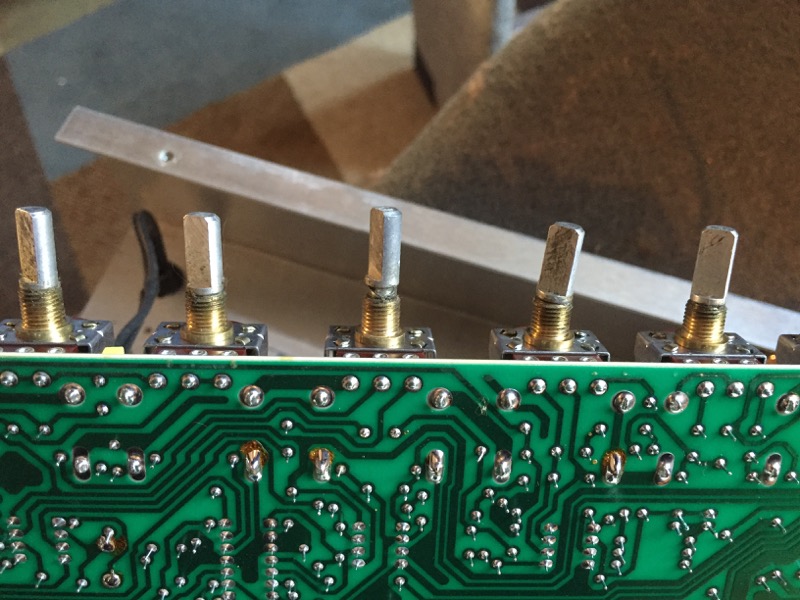
Damaged PotsThe pot located second from the right is the most damaged.
Carefully remove the solder from the five tabs and lift the old pot out. Insert new pot and carefully solder new tabs to traces, taking care not to cross any of the traces.
-
Finished M-80
<Click on picture to enlarge.>
Finished AmpWrapped up and ready to play