Custom Woodwork by Stuart
Every piece has a story.
"To practice any art, no matter how well or badly, is a way to make your soul grow. So do it!"; Kurt Vonnegut.
A special request from my son for a custom low shelving unit for his room.

No problem with the weight
March 2013:
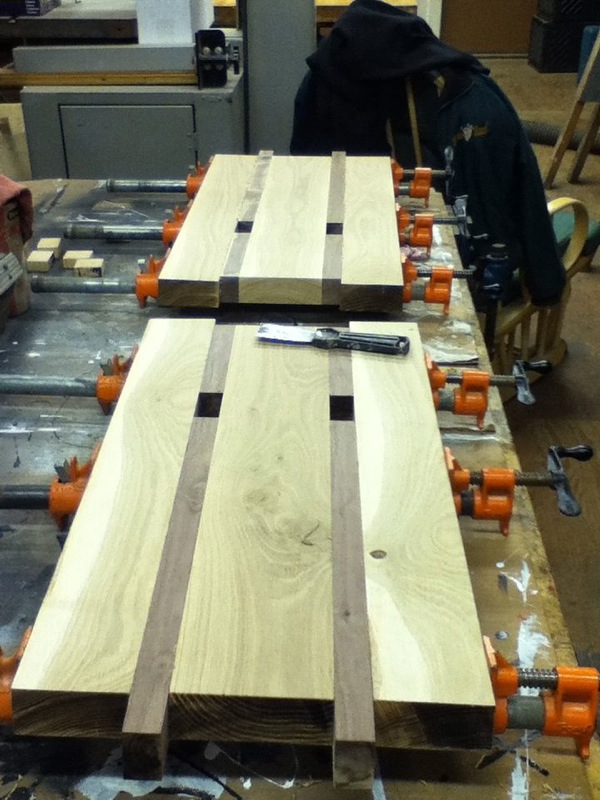
So I took the plans and the suggestions and headed for the shop. I checked my supply of heavy boards and found some White Oak pieces. We cut this tree in the early summer of 2010. It lay in the woods until that fall when we gathered a load of logs for the mill. The boards were sawn into 1.5 inch thickness and stickered and stacked to air dry in the warm attic of my garage. I have never worked with White oak so I thought this might be a good time to start.
After sawing a few boards I realized that I didn't have enough of the heavy boards to finish. Some of the boards proved to be less than top quality and although I like having some character in my wood, this was too bad - basically it was fire wood. So I called my brother who had saved out some of the boards for possible projects he might tackle. He was more than willing to share and the next trip north I loaded up a couple more boards.
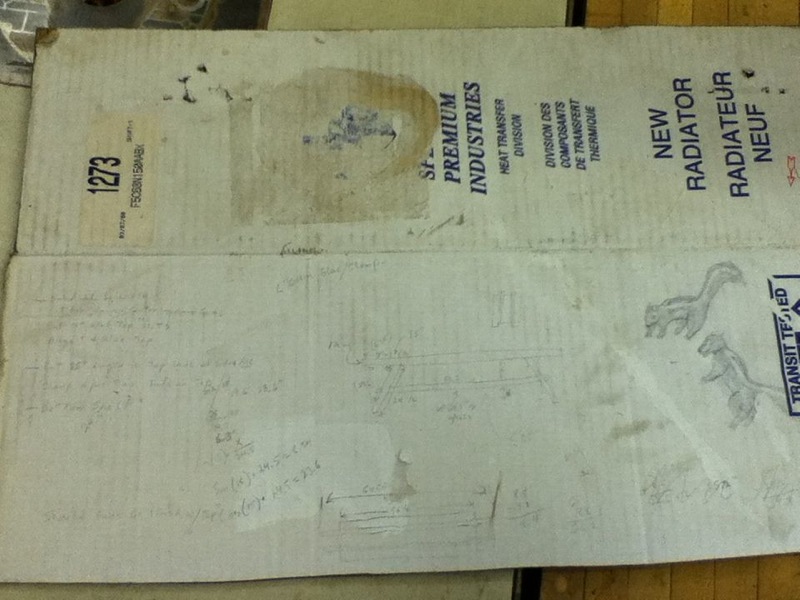
Plans
The design for this unit evolved as it was being built. Most of the calculations for angles and such were made on the only piece of paper I had available.
You can also see some attempts to draw a skunk. This was for the illustrations for a story that I was working on at the time. These are a couple things to do while waiting for glue and finish to dry.
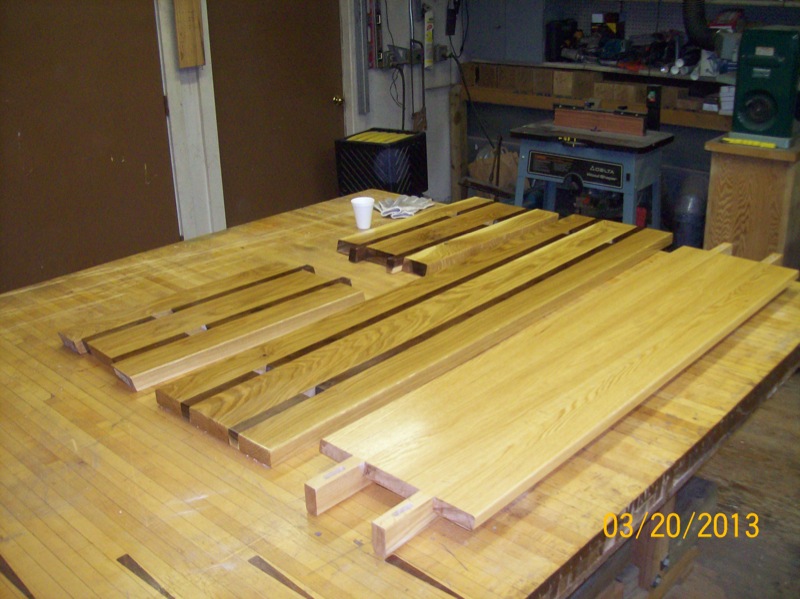
Ready for 'final' assembly
All the pieces are completed and ready for 'final' assembly. It's not really final since this unit can be easily taken apart at any time. I would expect my son to be moving a few times over the years so I wanted this to be very portable. The four wooden wedges are all that holds it together.
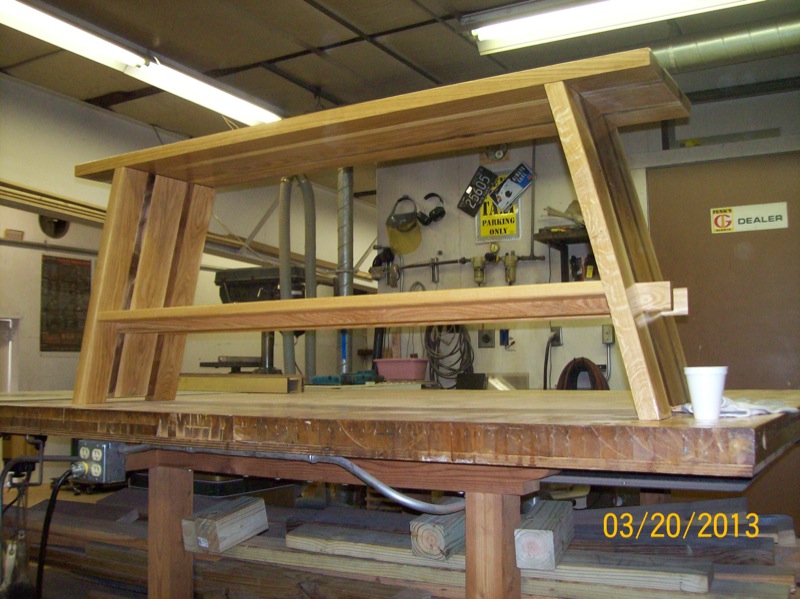
First assembly
Okay, first assembly of finished stand/shelf unit. After a great deal of head scratching and shaking the cobwebs off of some old trig memories, I am very happy with how this has turned out.
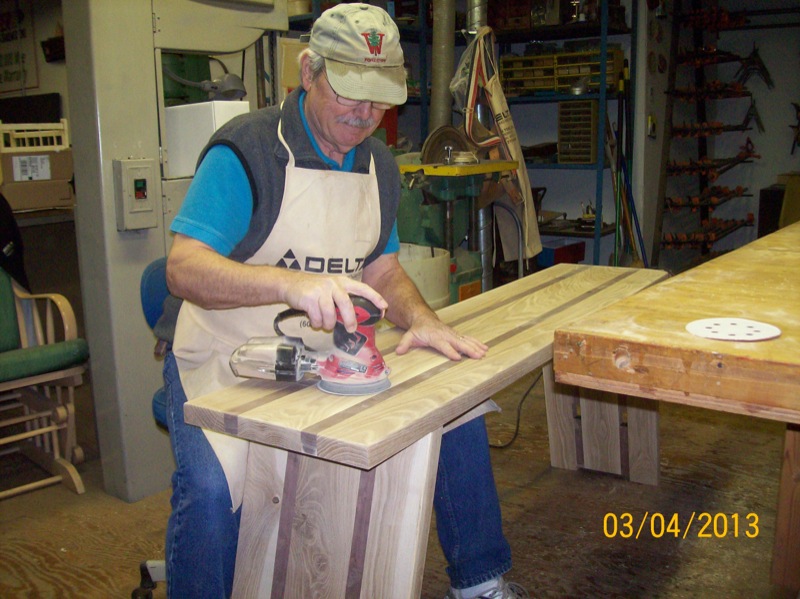
Sanding down tenons
Since the ends of these tenons would make up part of the top surface of the unit, these had to be perfectly flat. This required careful precise angle cuts and careful sanding after a rough assembly.
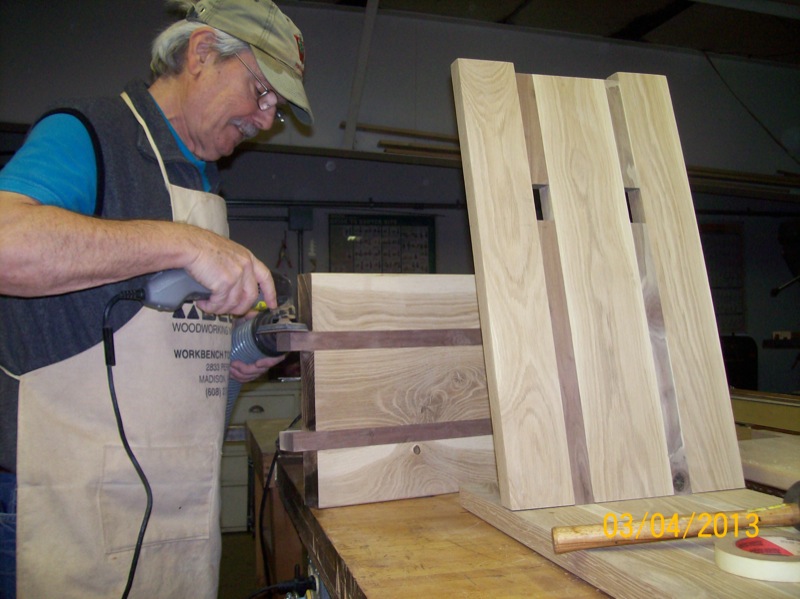
Sanding tenons for tight fits
Careful sanding was also required to adjust the final fit of the tenons in the mortises. These needed to be snug but not too snug since the stability of the whole unit depended on these joints. Since the piece is held together by own weight the friction of these joints alone provides it with it's stiffness and stability -- no glue or fasteners.
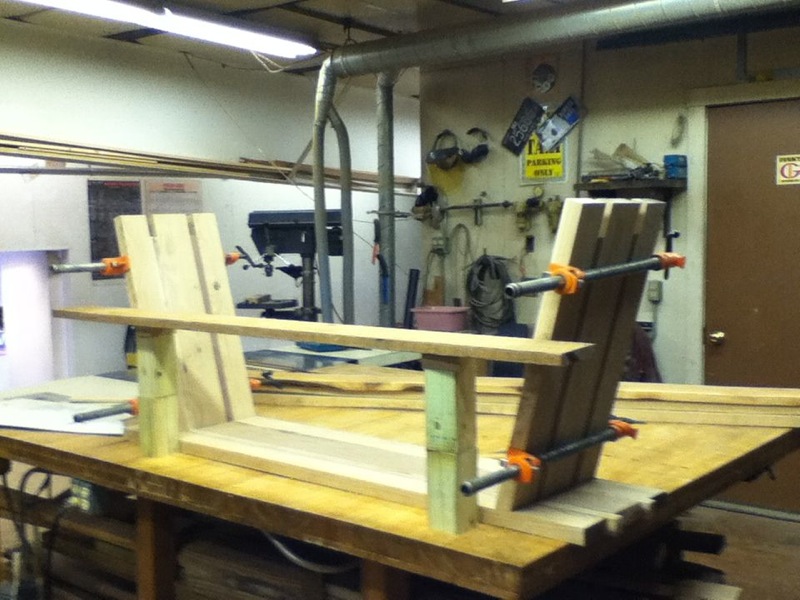
Positioning tenons in the end pieces
(This may be slightly out of order)
Once the tenons are fit into the top mortises. I need to calculate the position of the mortises. for the side pieces (lower shelf). All the mortises. in this unit were created by strategic placement of the gaps in the walnut strips before gluing the five (5) boards together to form the top and each side. They were not cut into the finished -- glued up -- pieces.
What you see here are the end piece CLAMPED together and positioned within the top piece (already glued) in order to determine both the position and length of the shelf. I did this by sight in order to choose the position of the shelf that looked best to me.
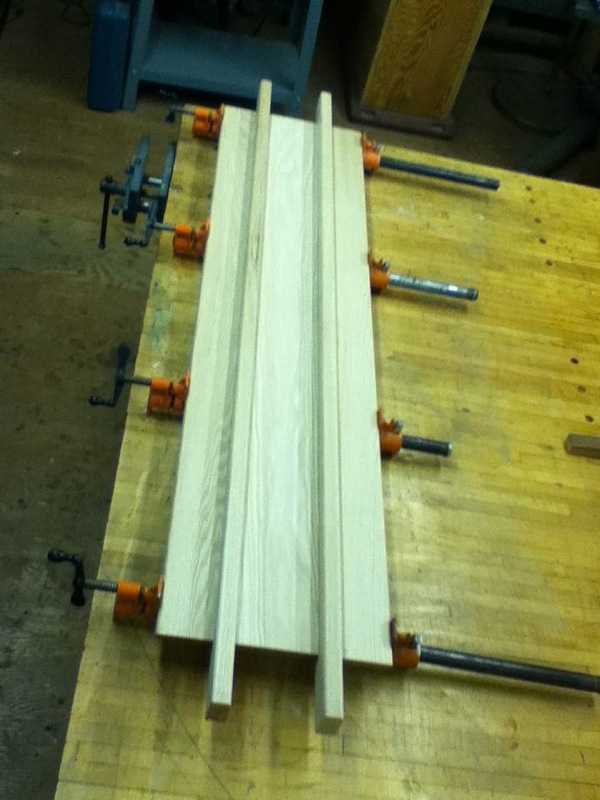
Making bottom shelf
Once I determined the position for the bottom shelf -- and therefore, the length -- I cut the pieces for is shelf and glued it together. As you see the two strips serve multiple purposes:
First; they provide bracing for the whole shelf (they are positioned at 90 degrees to the shelf.
Second; they provide width to the self and extend the theme of the unit onto the upper surface of the shelf.
And Third; they provide a tenon which extends through the side legs and will be notched to accept the wedges that hold the whole unite together.
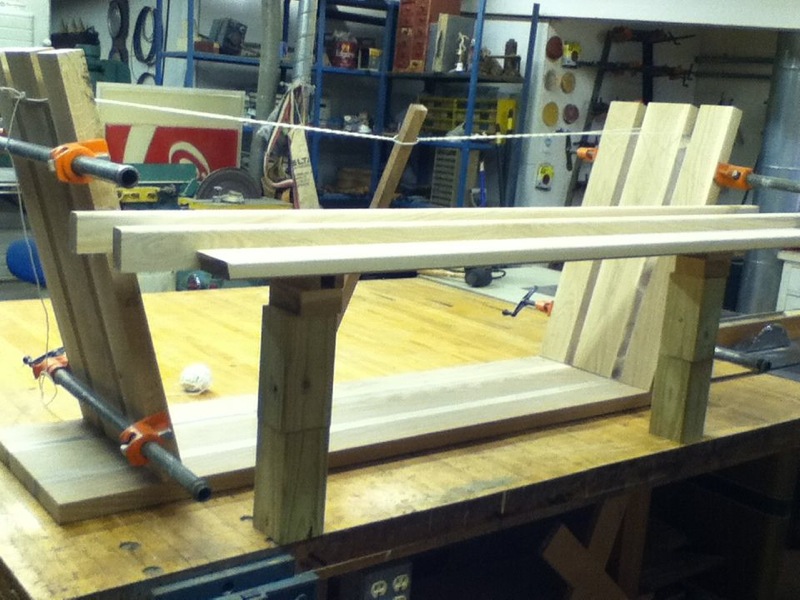
Positioning shelf tenons
Now that the shelf is complete, it's time to place the side tenons and then glue up the pieces. This is probably the most critical part of the whole assembly process. At this point I haven't made the cuts in the walnut strips.
Once I settle on the position of the shelf, I will carefully measure the position for the angle cut. As you can see, the entire mortise is created with one cut -- at what will be the location of the top edge of the finished mortise -- the top of the shelf when the unit is standing right-side-up.
Now that I have the walnut strip cut, I clamp it all together again -- this time with the shelf in place. I can then position the other end of the walnut strip in position at the bottom of the mortise (against the bottom of the shelf support) where it extends slightly beyond the bottom edge of the side piece.
Glue up of the sides
I remove the sides (keeping them clamped) and remove the shelf. After gluing the side together, I make a final angle cut along the bottom of the side pieces to even up the whole thing.
You can see here the tenons for the top piece connection as well as the mortises. for the shelf. All these are created solely by the positioning of the walnut strips within the glue up.
I don't worry about the uneven bottom ends (seen in the middle of the picture) since I will trim this end to final size and at the angle matching the underlying angle of all the joints.
Rough ends
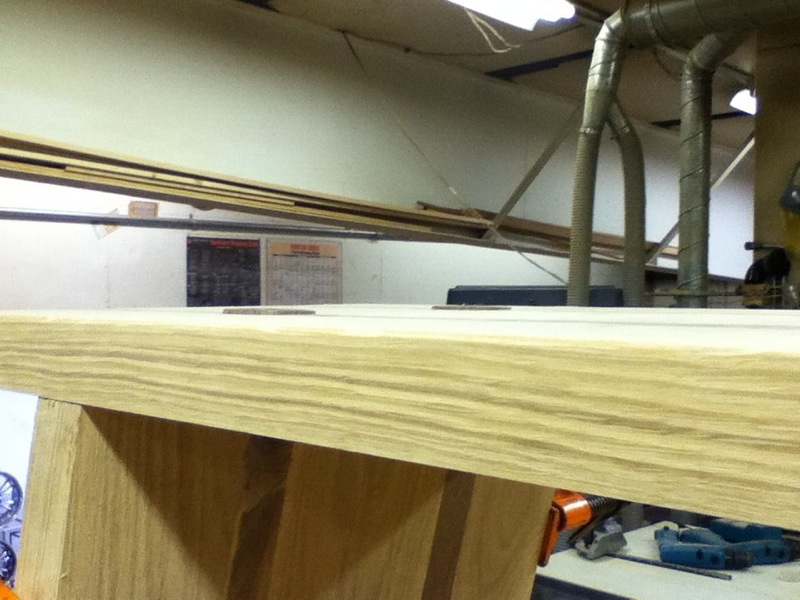
Here's a close up of the top showing the tenons projecting though the top. As I said above, I cut these slightly long so that I could sand them flush with the surface of the top face. This left a smooth top after all the sanding was finished.
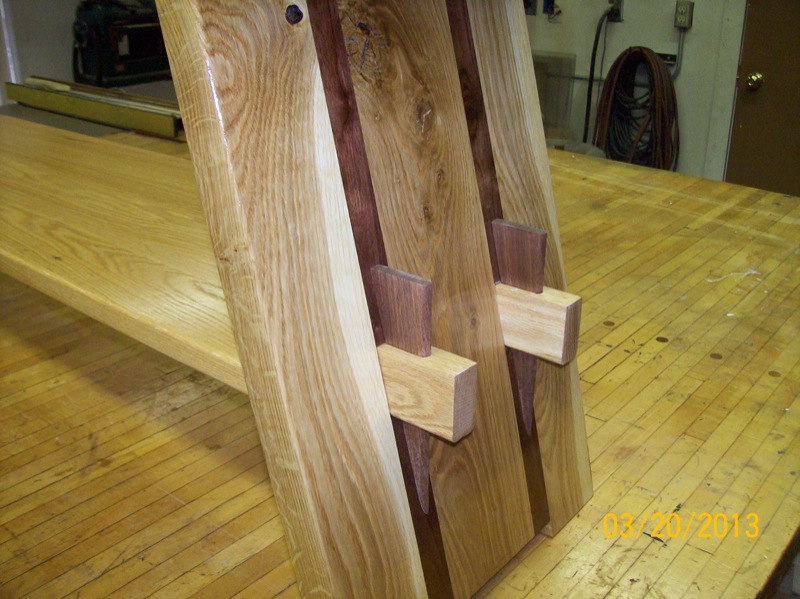
Walnut wedges
The final step was to cut slots in the shelf tenons to accept the wedges that hold the thing together.
This is probably my favorite part of the whole project. These wedges are completely functional unlike most you see on furniture these days. These four wedges are all -- besides gravity and friction -- that hold this whole unit together.
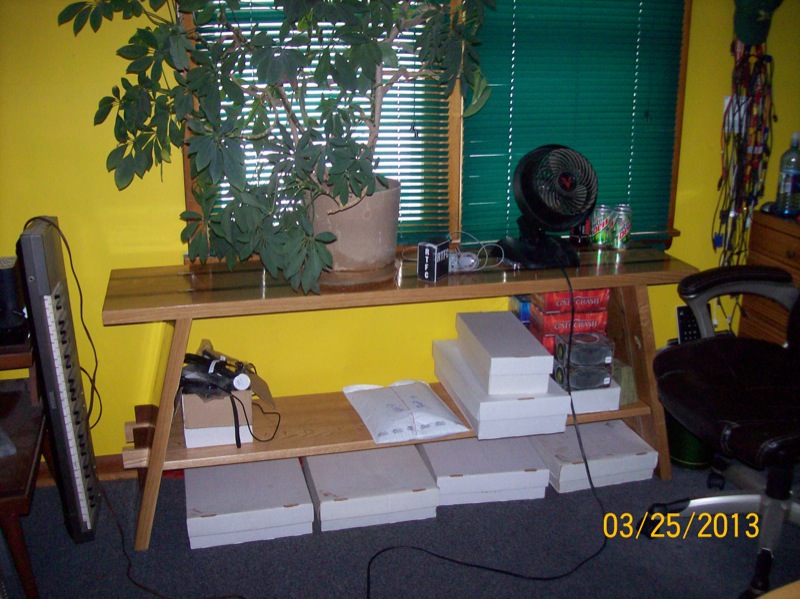
Taa daa...
And here it is. The spec had it even with the window sill and strong enough for boxes of papers, "Magic" cards, etc.
The fit is snug. I was a little worried that the the different kinds of wood might have different expansions as they take up moisture and dry out with the seasons. I even had nightmares about glue joints exploding from the different tensions. But after a couple years and a couple moves -- tear-down and set-up cycles -- this hasn't been a problem.
Special Thanks
I'd like to give a special thanks for my good friend Chet Hermansen for letting me use his workshop to build this unit. His various saws, drills, clamps, and sanders (especially the wide belt sander) helped a great deal. Not to mention the large work bench and comfortable, warm, dust free workshop space in which to work.
Thank you!