Milk Stools
Every one has a story.
legs for stool #2
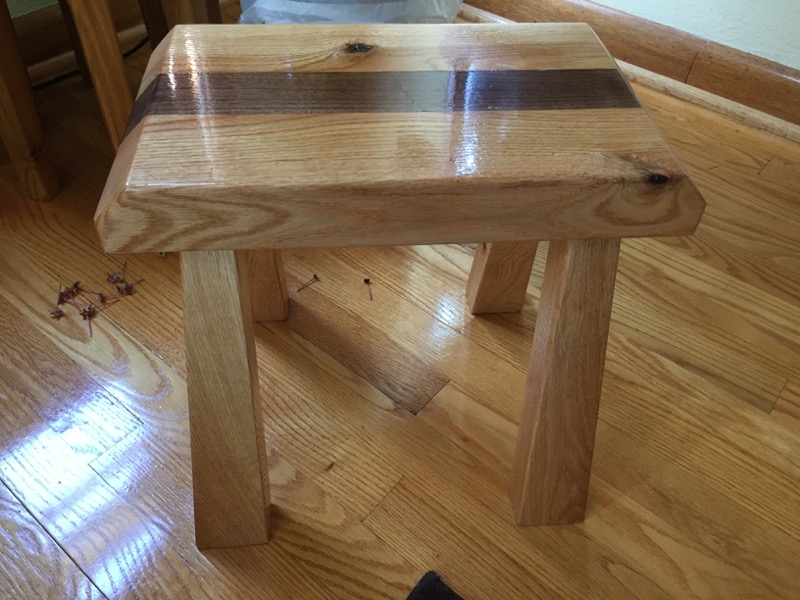
Second Milk Stool:
Much of stool #2 was cut out before Stool #1. I was planning on doing 2 at a time to save setup time and all that so I began with Red Oak and Black Walnut. (This has become a theme in my work). But I had trouble getting the legs right (re-cutting makes them shorter). So when I finally got it right and took what I'd learned to cut the second set of legs, I just kept going on the second stool until it was finished. Since it was the first one finished, I called it #1).
"To practice any art, no matter how well or badly, is a way to make your soul grow. So do it!"; Kurt Vonnegut.
legs for stool #2
June 2016
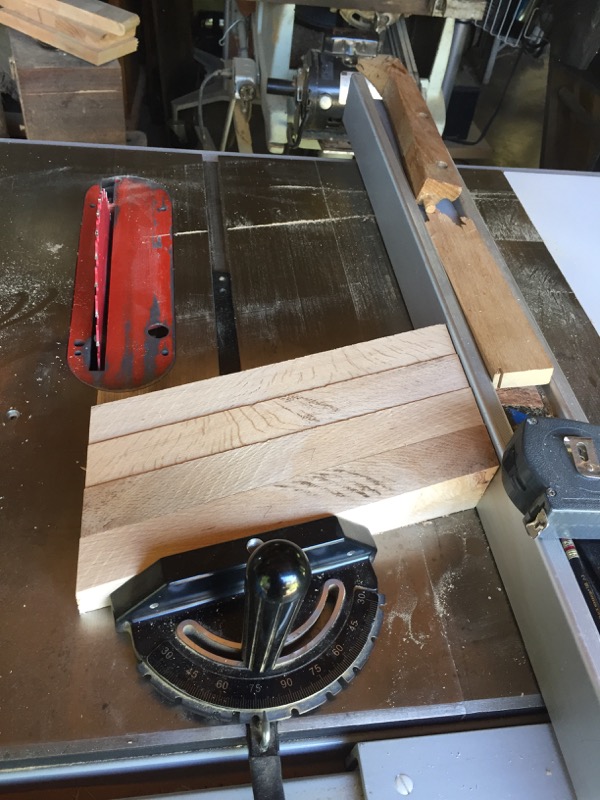
I cut the legs for stool #2 before I cut the legs for stool #1. Before I figured out the compound cut, I did it in two steps. First I cut the splay angle (13 degrees) on all legs (with saw blade at 90 degrees).
cutting splay in leg
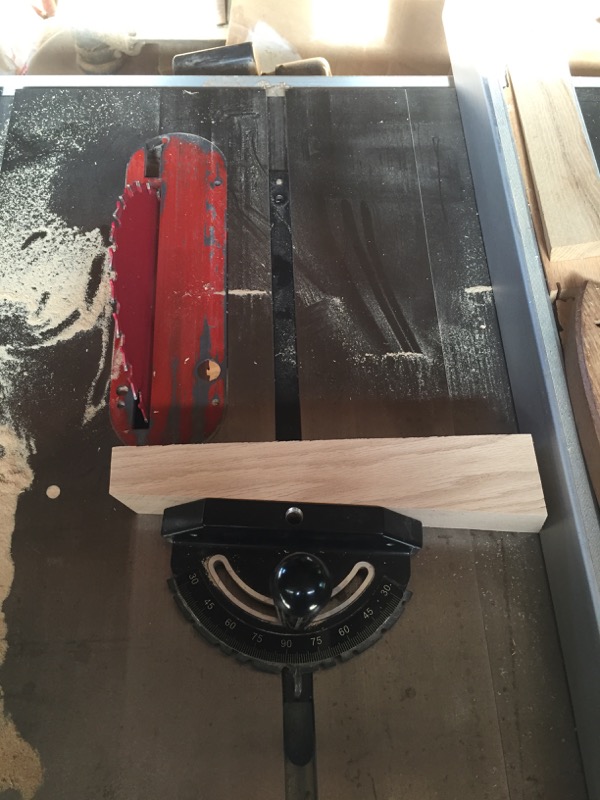
Then a second pass with the blade 13 degrees and the miter at 90 for one leg on a side. The other leg on that side required the miter be set at 5 degrees.
I messed this up once so the legs on stool #2 are shorter than #1.
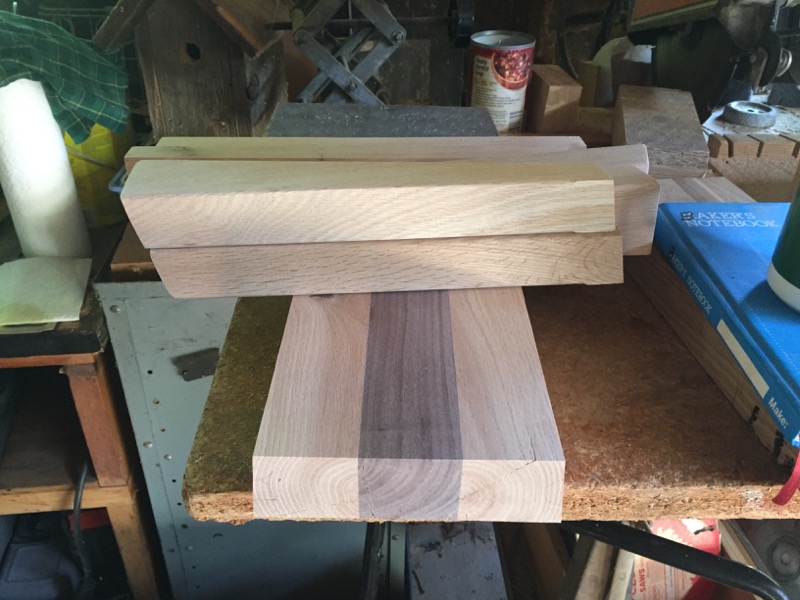
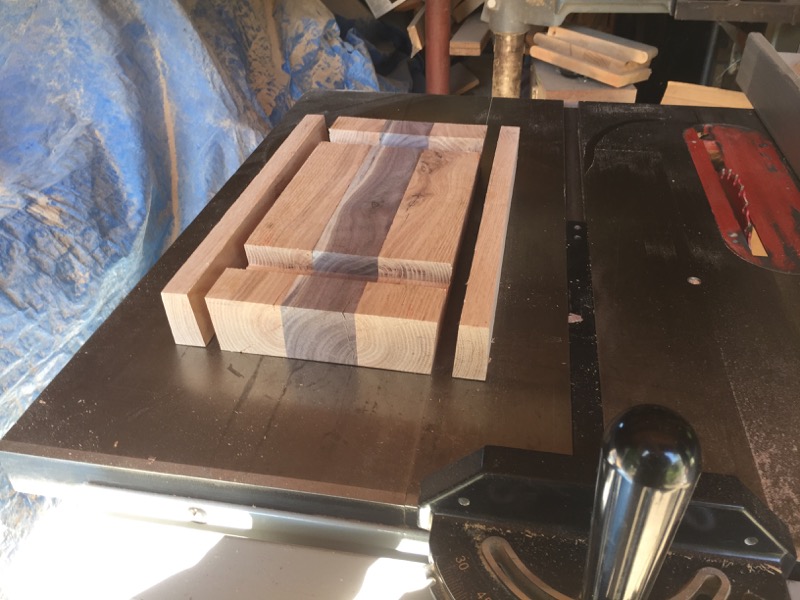
all the pieces
Here are all the pieces for stool #2 ready for making the dado cut in the top center piece.
ready for glue.
Dado cuts have been made with multiple passes through the table saw. The outside edge must be angled to 5 degrees to match the taper of the legs. And the angle of the rips must match the splay angle of 13 degrees.
This is now ready for gluing the edge strips back on to form the outside of the mortise.
As I was test clamping these in prep for gluing, I wondered that the pieces weren't slipping as much as stool #1. Then I realized that I'd made these rips at 5 degrees instead of the required 13. What to do?
I can either Re-rip all the pieces to the proper angle or glue up as-is and fix before attaching legs.
Since the width of the stool was already under spec, I decided to glue and then fix the mortise somehow.
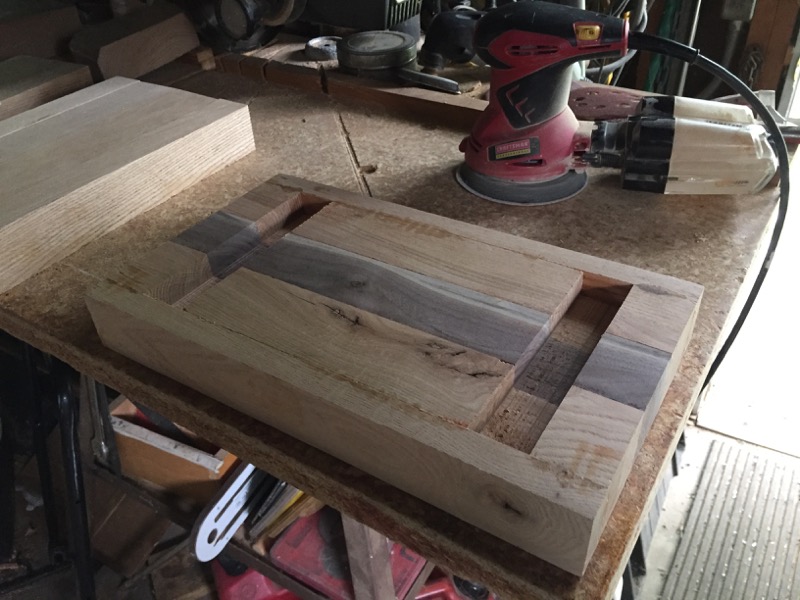
ready for sanding
Glued and ready for sanding.
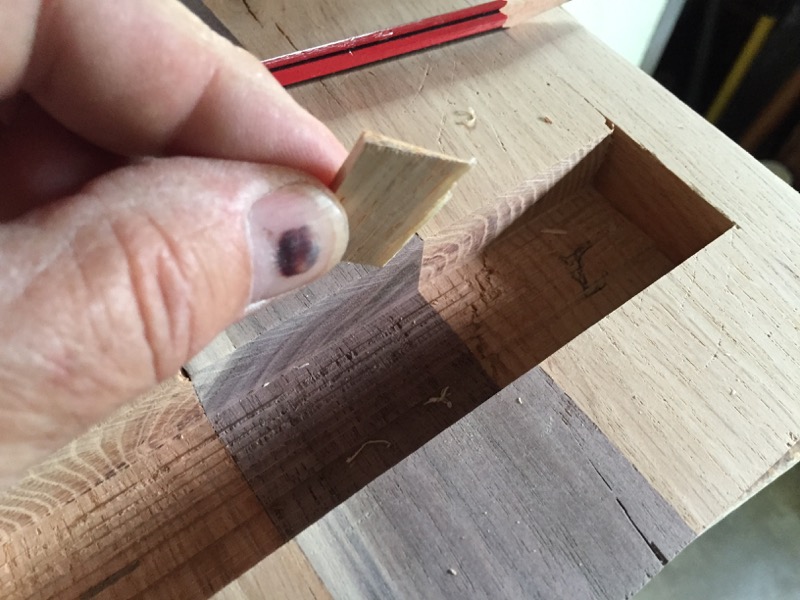
The solution - a shim
The outer edge of the mortise is angled to 5 degrees and needs to be at 13 degrees. I cut out four shims at 8 degrees and glued them in the four mortise edges to correct the angle.
placing the shim
Placing the shim.
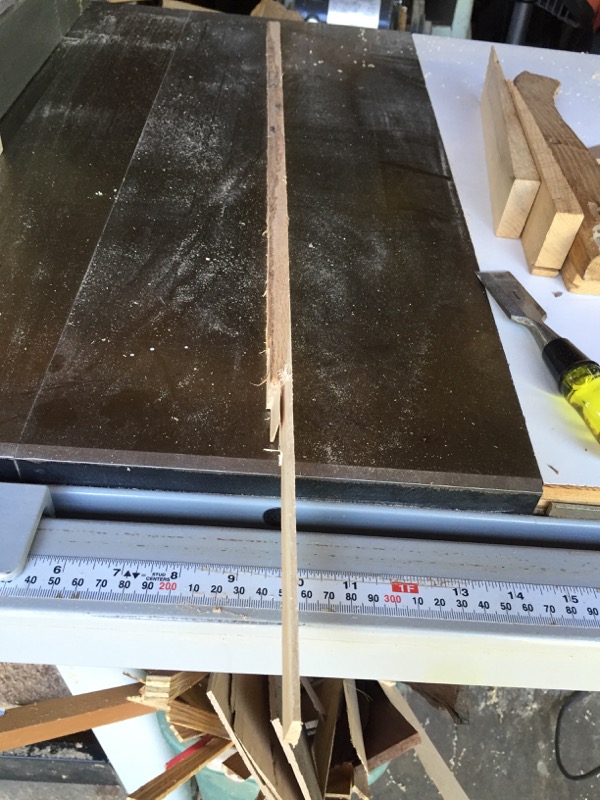
cutting the shims
Cutting the shim is delicate work (and dangerous). A strip of waste Red Oak was fed into the saw at 5 degrees for just enough length to make the required 4 shims. This left a long 'handle' so I don't have to have any hands near the blade.
A second pass at 13 degree tilt left a strip with the required 8 degrees. This was then cut into 4 pieces of the proper length to fit into the mortise.
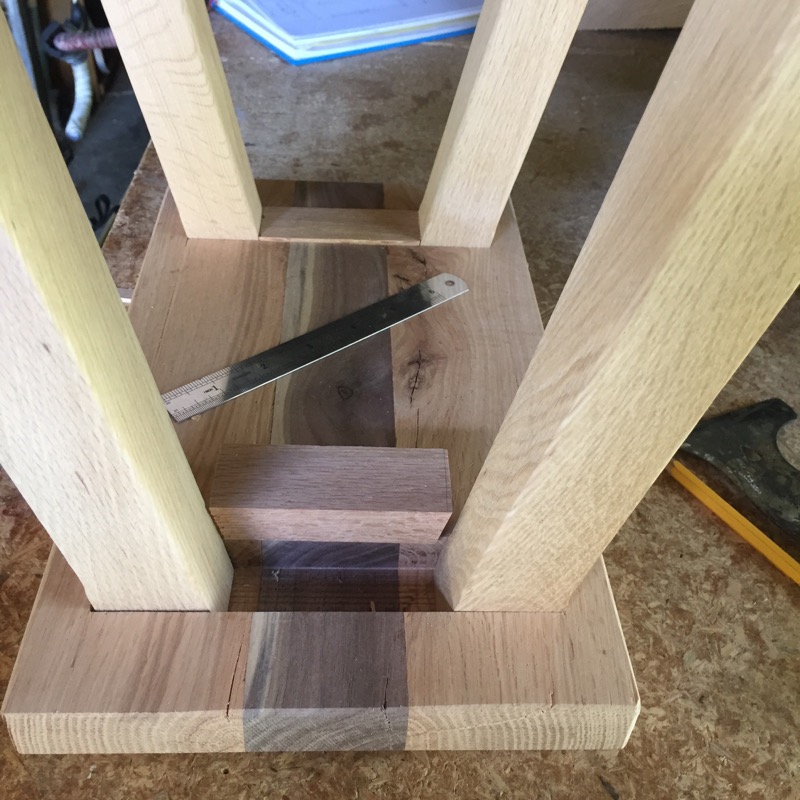
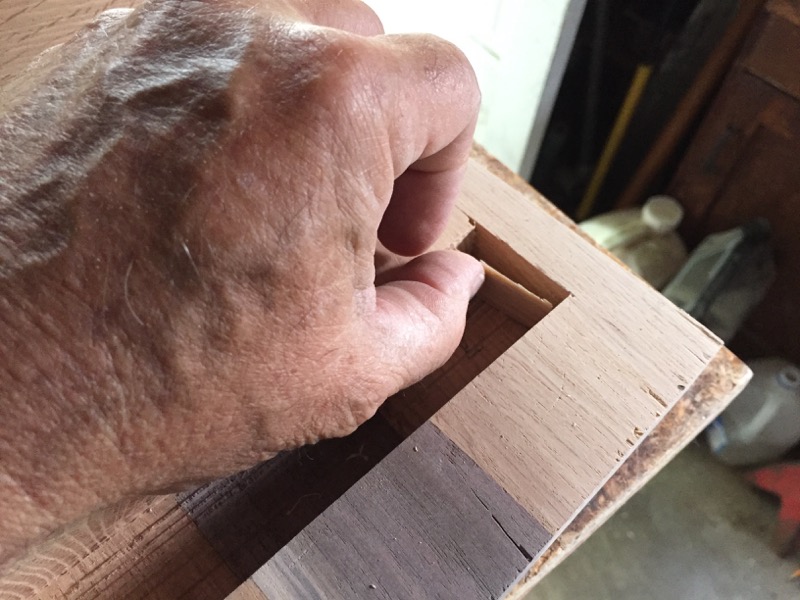
'closing' the mortise
The final step is forming the inside of the mortise. This piece of red oak is cut to match the space remaining after the legs are properly placed in the dado. This piece will be held in place with screws to make the tightest possible support for the legs.
This requires careful measurement and some trial and error.
I noticed that no mater how carefully I cut the taper on the these legs, there is some variation that causes some play in the end-to-end positioning of the legs. A little wobble room is nice fort the final positioning of the legs during glue-up to insure they are square and the stool stands level.
(More on all of this in the story of stool #3)
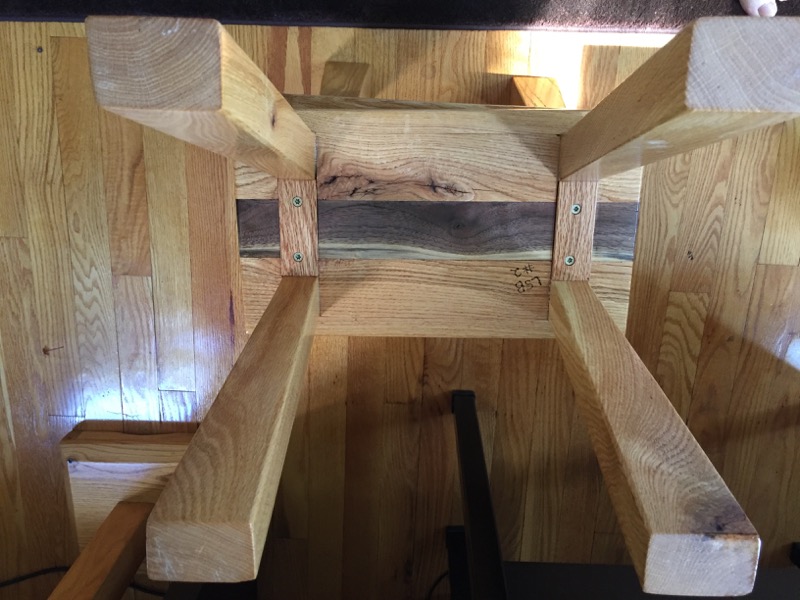
Stool #2 finished